
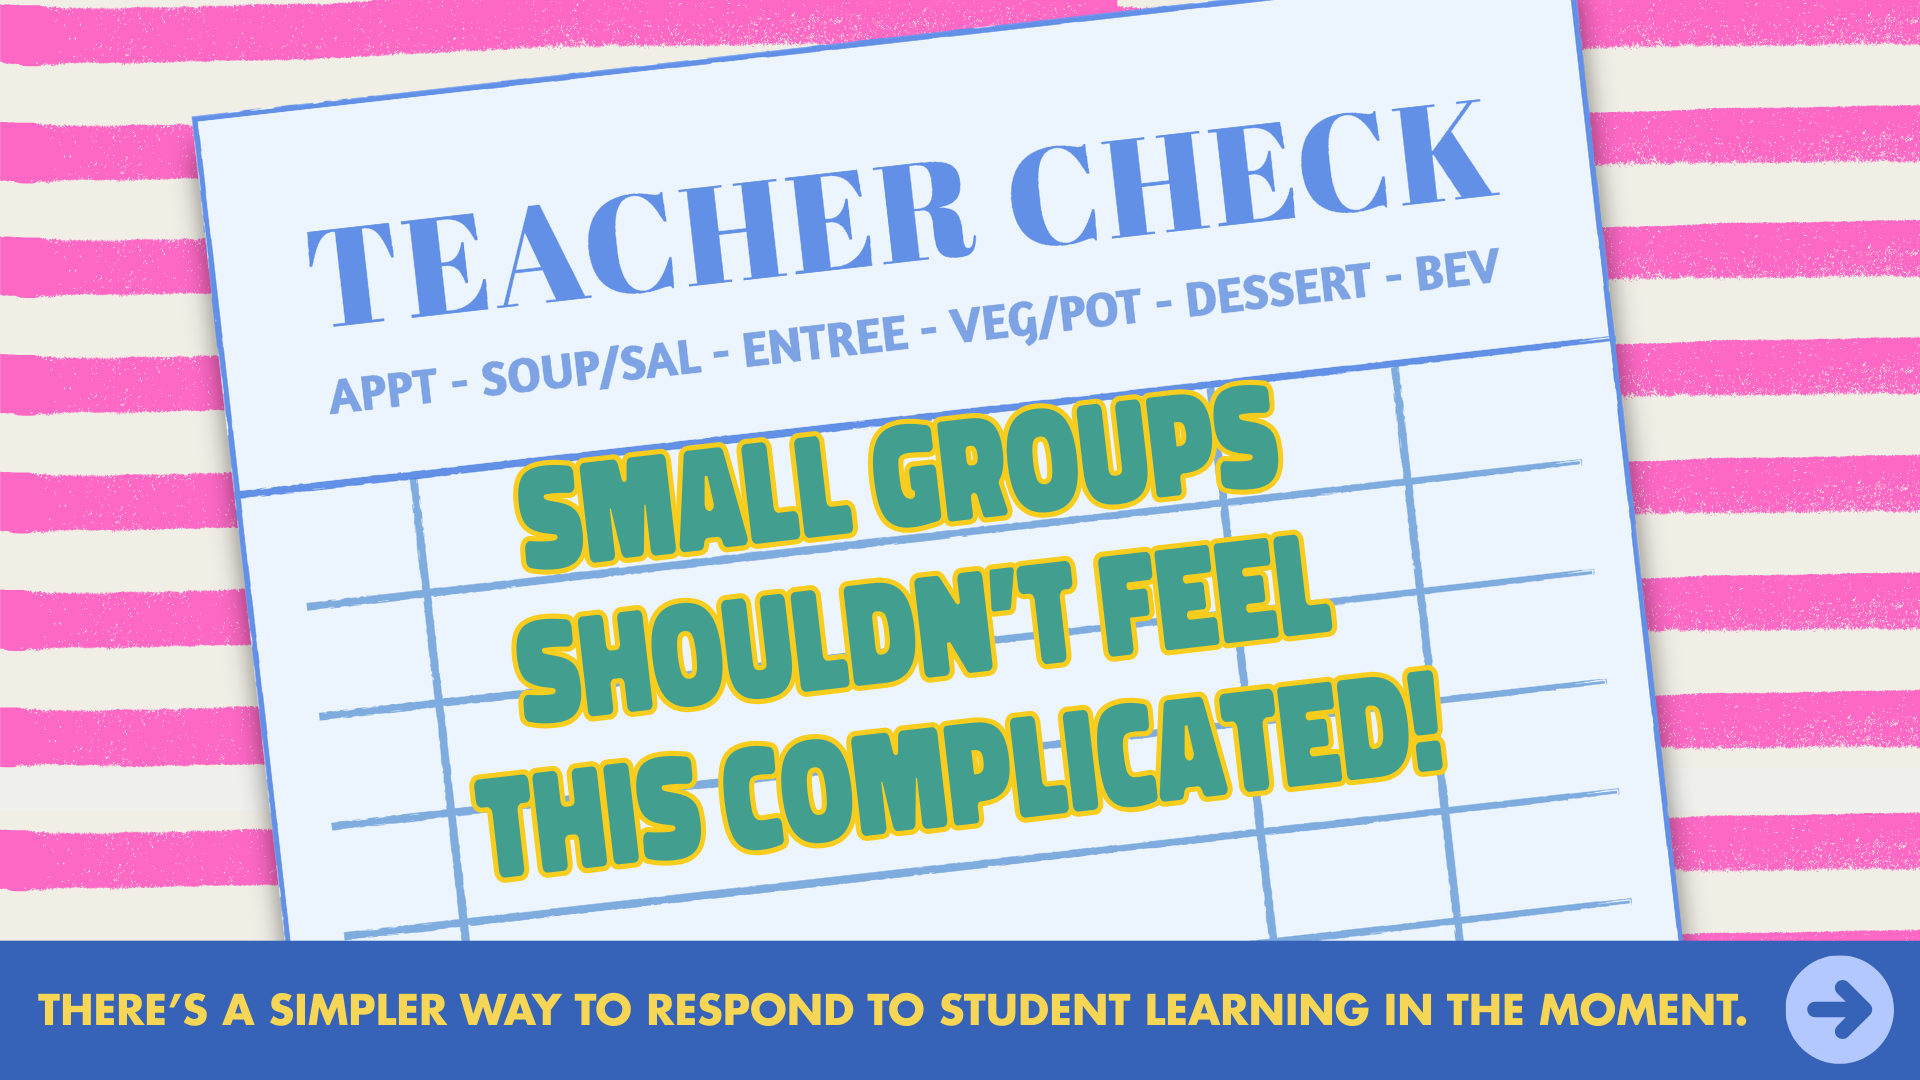
Small Groups Shouldn’t Feel This Complicated
A Simple Sticky Note Strategy to Make Instructional Decisions in the Moment
When teachers hear the words small group instruction, a lot of things come to mind.
Rotations.
Centers.
Complicated planning systems.
Trying to manage five different things happening at once.
And while those structures can certainly have their place and yield amazing results, small groups do not always have to look like that. So if you’ve been overwhelmed but the thought of traditional small groups, keep reading!
In fact, some of the most effective small groups I have ever taught lasted three to seven minutes and happened right in the middle of a lesson.
They weren’t scheduled.
They weren’t part of a rotation.
They were simply quick instructional moves based on what students were showing me in the moment.
The key to making this work is having a simple way to monitor mastery and make decisions quickly.
And one of the easiest tools to do that is something every teacher already has in their classroom.
Sticky notes.
So let’s talk about it!
Step 1: Use Sticky Notes to Level Learners Based on Mastery
After you introduce the learning target and explicitly model the skill, the next step is to monitor students for mastery.
This can happen in several places during a lesson:
• During instruction while students respond on whiteboards
• During the “You Do” portion of gradual release
• During independent practice once students return to their seats or during their independent task
But let’s talk about what this actually looks like in action during instruction.
Imagine the flow of the lesson.
First, I introduce the focused learning target so students know exactly what skill we are working toward.
Then I explicitly model the process. I show students how to solve it, find it, identify it, or explain it—whatever the skill requires.
Next, we move into the “We Do” portion of the lesson.
Students practice a few examples along with me using their response boards. This allows me to see how students are thinking while still providing guidance and support.
Then I give students one to three problems to complete independently on their response boards.
This is the moment when I begin passing out sticky notes.
As students hold up their response boards, I quickly scan for mastery and distribute sticky notes based on what I see.
Some students receive one color.
Some receive another.
Some receive a third.
The sticky notes simply become a quick visual indicator that helps me track where students are with the learning target.
Now I have immediate insight into which students:
• have demonstrated mastery
• are almost there
• need additional support
To keep that information clear and actionable, I use a simple 1–2–3 system.
Using a 1–2–3 Mastery System
1 → Below Level
Students who have not demonstrated the skill yet.
2 → Almost There
Students who are on grade level but still need reinforcement.
3 → Mastered Consistently
Students who have clearly demonstrated the skill and are ready to extend their thinking.
I could track where students fall within this system on a tracking sheet, or I translate it into three sticky note colors.
For example:
Orange = 1
Pink = 2
Blue = 3
I intentionally change the colors often so students do not attach meaning to them.
The sticky notes simply become a quick visual system for identifying where students are with the learning target.
A Critical Reminder: Only Assess the Target You Taught
One of the biggest mistakes we can make when checking student work is allowing ourselves to get distracted by mistakes that are not connected to the learning target.
When we are monitoring mastery, we should only be asking one question:
Did the student demonstrate the skill tied to the learning target?
For example, imagine your writing lesson target is:
Students will add explanations to support their details.
A student might forget capitalization.
They might miss punctuation.
They might even misspell a word.
But those mistakes do not determine whether they demonstrated the target.
The real question is:
Did they add an explanation that supports their detail?
If we get carried away assessing mistakes that are not even related to the target, we may never actually know whether the student mastered the skill we taught.
Why Clear Learning Targets Matter So Much
This is exactly why clear and focused learning targets are so important.
A well-written learning target makes data collection simple.
When the target is clear, the question becomes straightforward:
Did the student demonstrate the skill we just taught?
That clarity allows you to quickly determine whether a student is a 1, 2, or 3 and make instructional decisions in the moment.
But when learning targets are too broad, everything becomes more complicated.
Teachers often feel the need to reteach entire lessons.
Students leave the lesson with partial understanding.
And teachers are left wondering where their students actually are.
It’s also very common to hear teachers say:
"I just don’t have time to get to everyone and collect data."
But what I often find when observing classrooms is that teachers are actually tracking far too many things at once.
Instead of monitoring the specific target from that lesson, they are trying to track:
spelling
punctuation
strategy
process
neatness
participation
and the final answer
All at the same time.
When we narrow our focus to one clear target, data collection becomes much simpler.
You’re no longer trying to track everything.
You’re simply asking:
Did the student demonstrate the skill tied to today’s learning target?
Clear targets lead to clearer data.
And clearer data leads to better instructional decisions.
The Goal of the 1–2–3 System
The purpose of this system is not labeling students.
It is guiding instruction.
The goal is always movement:
• My 1’s become 2’s
• My 2’s become 3’s
• My 3’s are enriched and challenged at a higher cognitive demand
Once you know where students are, you can make quick instructional moves that help them progress toward mastery.
Instructional Move #1: Your First Line of Defense
One of my favorite ways to use sticky notes is during instruction while students are responding on whiteboards.
As students demonstrate their understanding, I quickly track them with sticky notes.
Then when it is time to release students to independent work, I may say:
“Orange and pink sticky notes, stay with me for a few more minutes.”
This becomes a quick 3–5 minute reinforcement group.
Sometimes students are incredibly close to mastery. They simply need another example, another explanation, or another opportunity to practice with support.
That extra few minutes can make a massive difference.
This is often my first line of defense before sending students back to their seats.
Instructional Move #2: Identify Tomorrow’s Small Groups
Another simple approach is to distribute sticky notes during independent work.
Students simply write their names on their sticky notes and place them on their work or turn them in when finished.
At the end of the lesson, I quickly sort the sticky notes.
Now I can clearly identify:
Students who mastered the target
Students who are close
Students who need additional support
Those sticky notes instantly become tomorrow’s small groups.
No complicated data tracker required.
Instructional Move #3: Differentiate With One Question
Sticky notes can also make differentiation much simpler than we sometimes think.
Instead of creating three completely different assignments or activities, you can simply adjust the level of the question students are responding to.
During independent work, display three questions on the board that vary slightly in cognitive demand. Each question aligns with the sticky note color students were given.
Students then answer the question connected to their sticky note color and write their response directly on the sticky note.
This allows you to meet students exactly where they are without creating multiple lesson plans.
For example, imagine your learning target is:
Students will identify the main idea of a paragraph.
You might display the following questions on the board:
Orange (1 – Support):
Which sentence best states the main idea of the paragraph?
Pink (2 – On Grade Level):
Write the main idea of the paragraph in your own words.
Blue (3 – Enrichment):
Explain how the details in the paragraph support the main idea.
Students respond to the question tied to their sticky note color and place the sticky note on their paper or I will collect them.
Now you’ve accomplished several things at once:
You’ve differentiated the task.
You’ve collected quick evidence of mastery.
And you’ve gathered valuable data that can guide your next instructional move.
These sticky notes can then become:
• tomorrow’s small groups
• reinforcement opportunities for students who are almost there
• enrichment for students who are ready to extend their thinking
All from one simple system that takes just a few minutes to implement.
Instructional Move #4: Use Sticky Notes for Reflection
Sticky notes can also be used for student reflection.
Prompts might include:
• One thing I learned today
• I feel confident with this skill
• I’m not there yet
Student reflections often reveal valuable insight about how students are processing the lesson.
And once again, those sticky notes can guide your next instructional move.
Instructional Move #5: Become Proactive Instead of Reactive
Many small groups happen after students struggle, and that is absolutely an important practice.
But sticky notes also allow you to become proactive instead of reactive.
Imagine yesterday’s sticky notes showed several students who were almost there with the learning target.
Instead of waiting for them to struggle again today, you could pull those students before instruction even begins.
Spend three to seven minutes front-loading the concept.
Clarify what confused them yesterday.
Preview what they will see in today’s lesson.
Now when whole group instruction begins, those students enter the lesson with confidence and access to the content.
And that matters.
Because many times when students disengage during instruction, it is not because they do not care.
It is because they cannot yet access the learning.
Front-loading gives them the support they need to engage.
Small Groups Do Not Have to Be Complicated
Small groups do not always require elaborate rotations, centers, or complicated systems.
Sometimes they simply require:
Sticky notes
Clear learning targets
Quick mastery checks
Intentional instructional decisions
Small instructional moves can have a powerful impact on student learning.
And sometimes the difference between confusion and mastery is simply three more minutes of instruction.
Want to See This in Action?
One of the most common questions we hear from teachers is:
“What does this actually look like in real classrooms?” & “What are the other students doing?”
This summer at GYTO Fest, we are bringing small group instruction to life.
We will be teaching live model lessons with real students, so you can see exactly how these instructional moves happen in real time.
You’ll see:
• How teachers monitor mastery
• How they form quick small groups
• How they adjust instruction in the moment
• How students respond when instruction becomes responsive
If you want to see small groups in action, we would love for you to join us. You can check out all of the information for our 2026 National Get Your Teach On Conference HERE!